Step 1
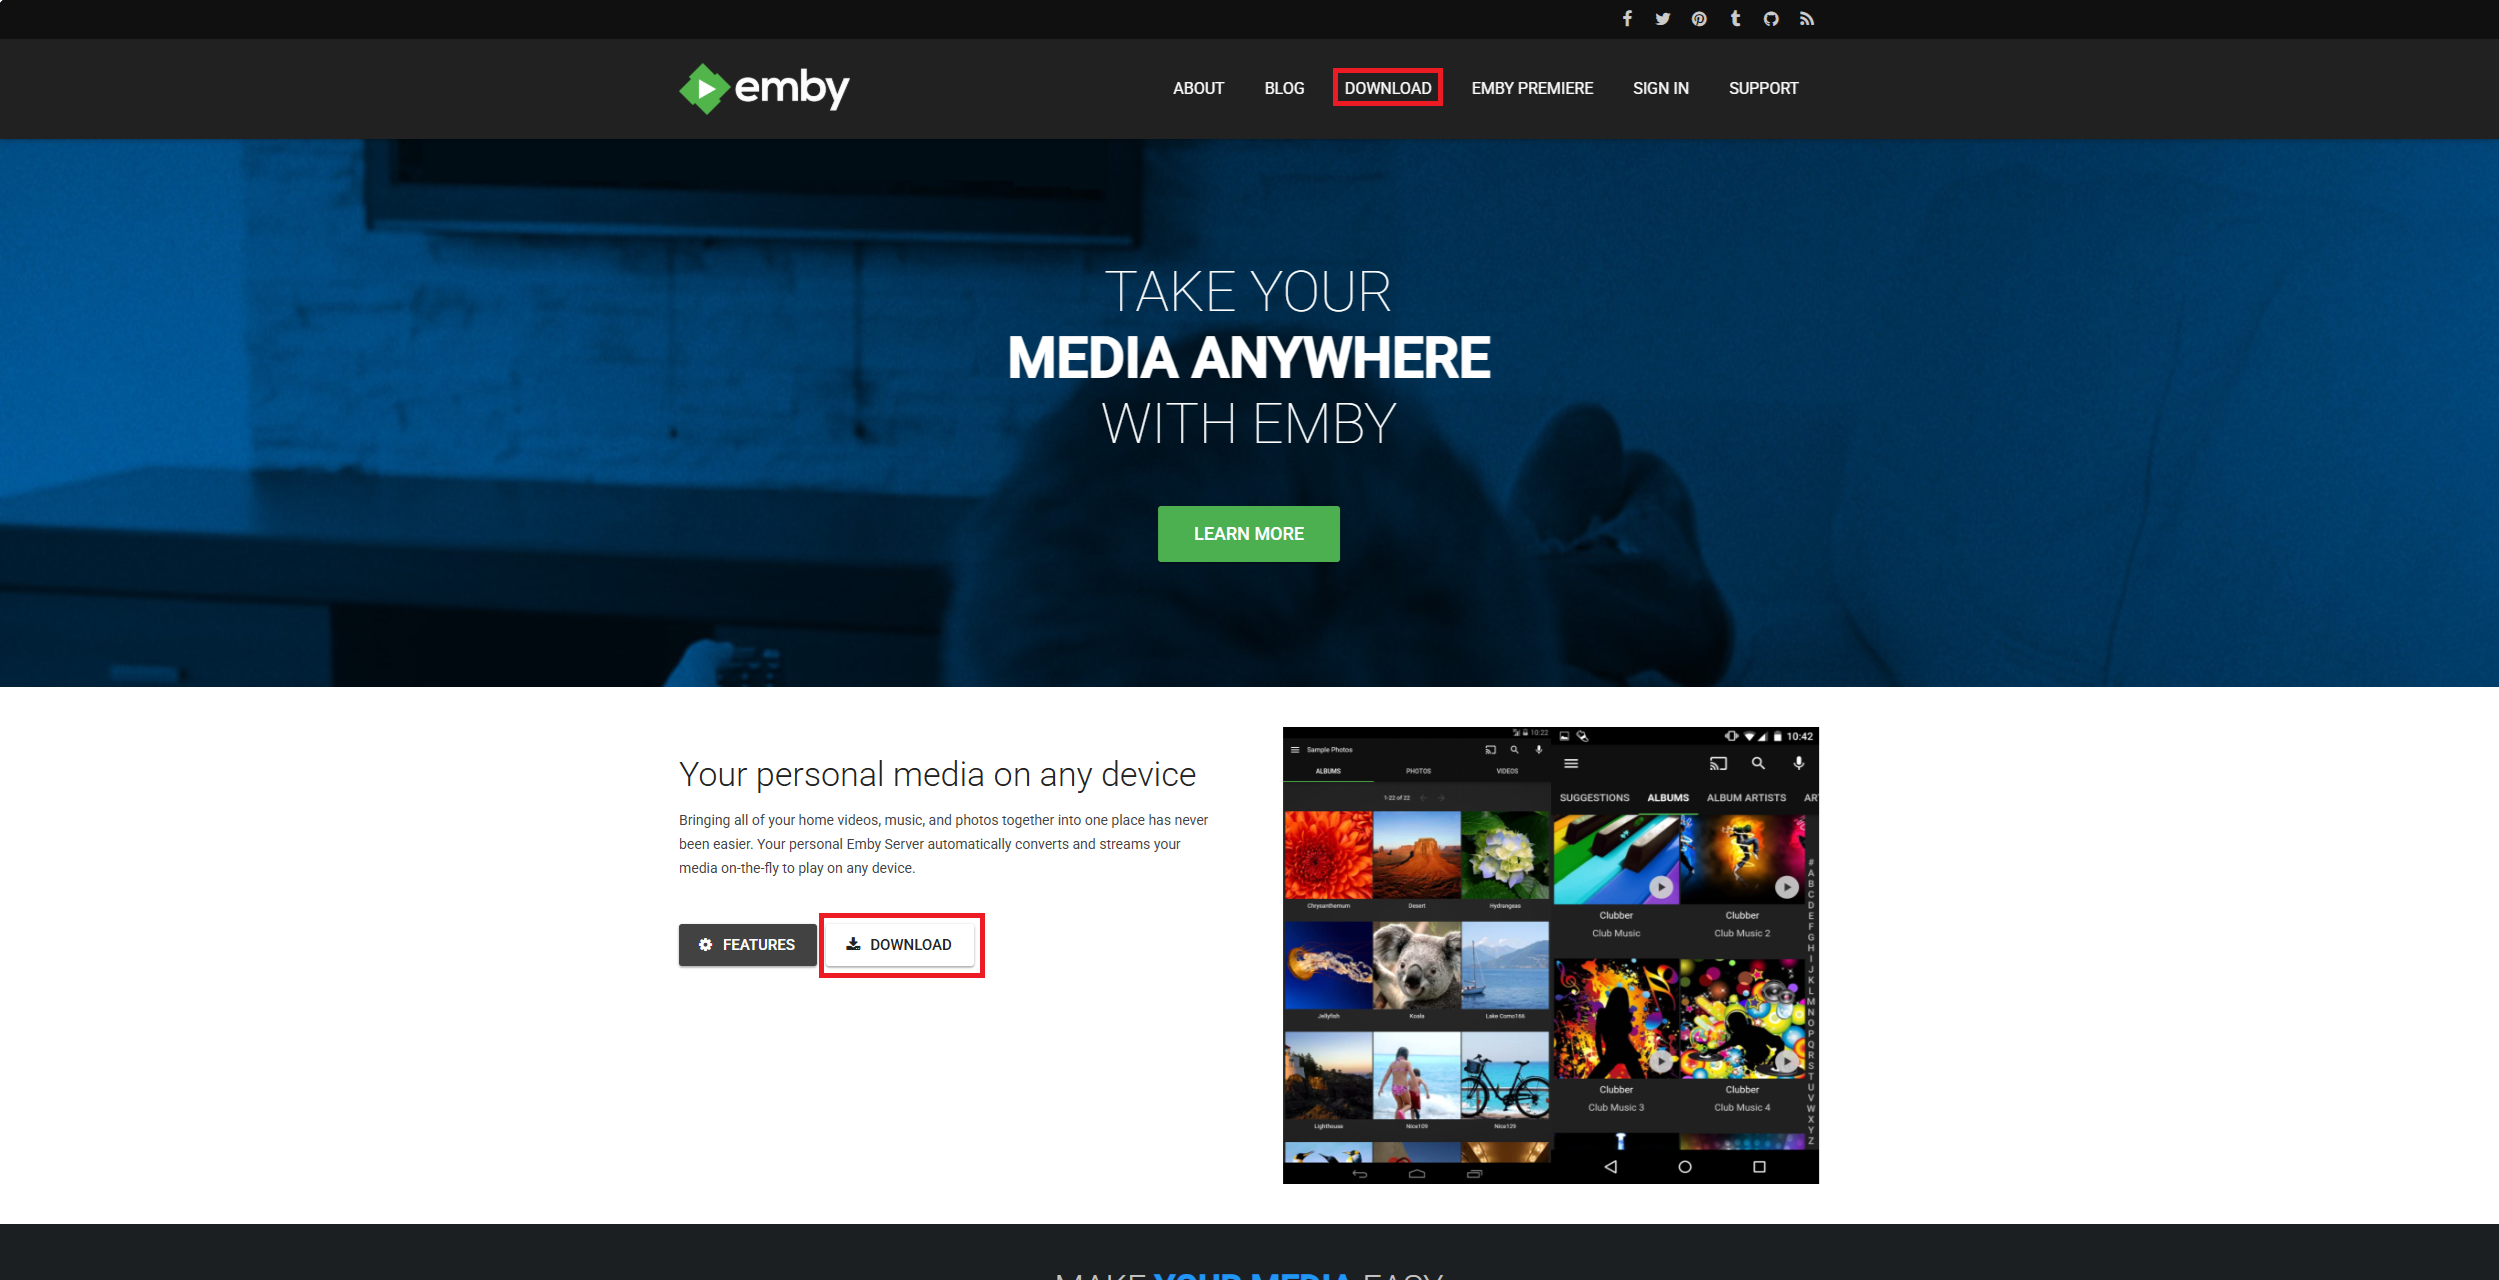
Step 1 - The download page
Click on the downloads page at https://emby.media
Step 2
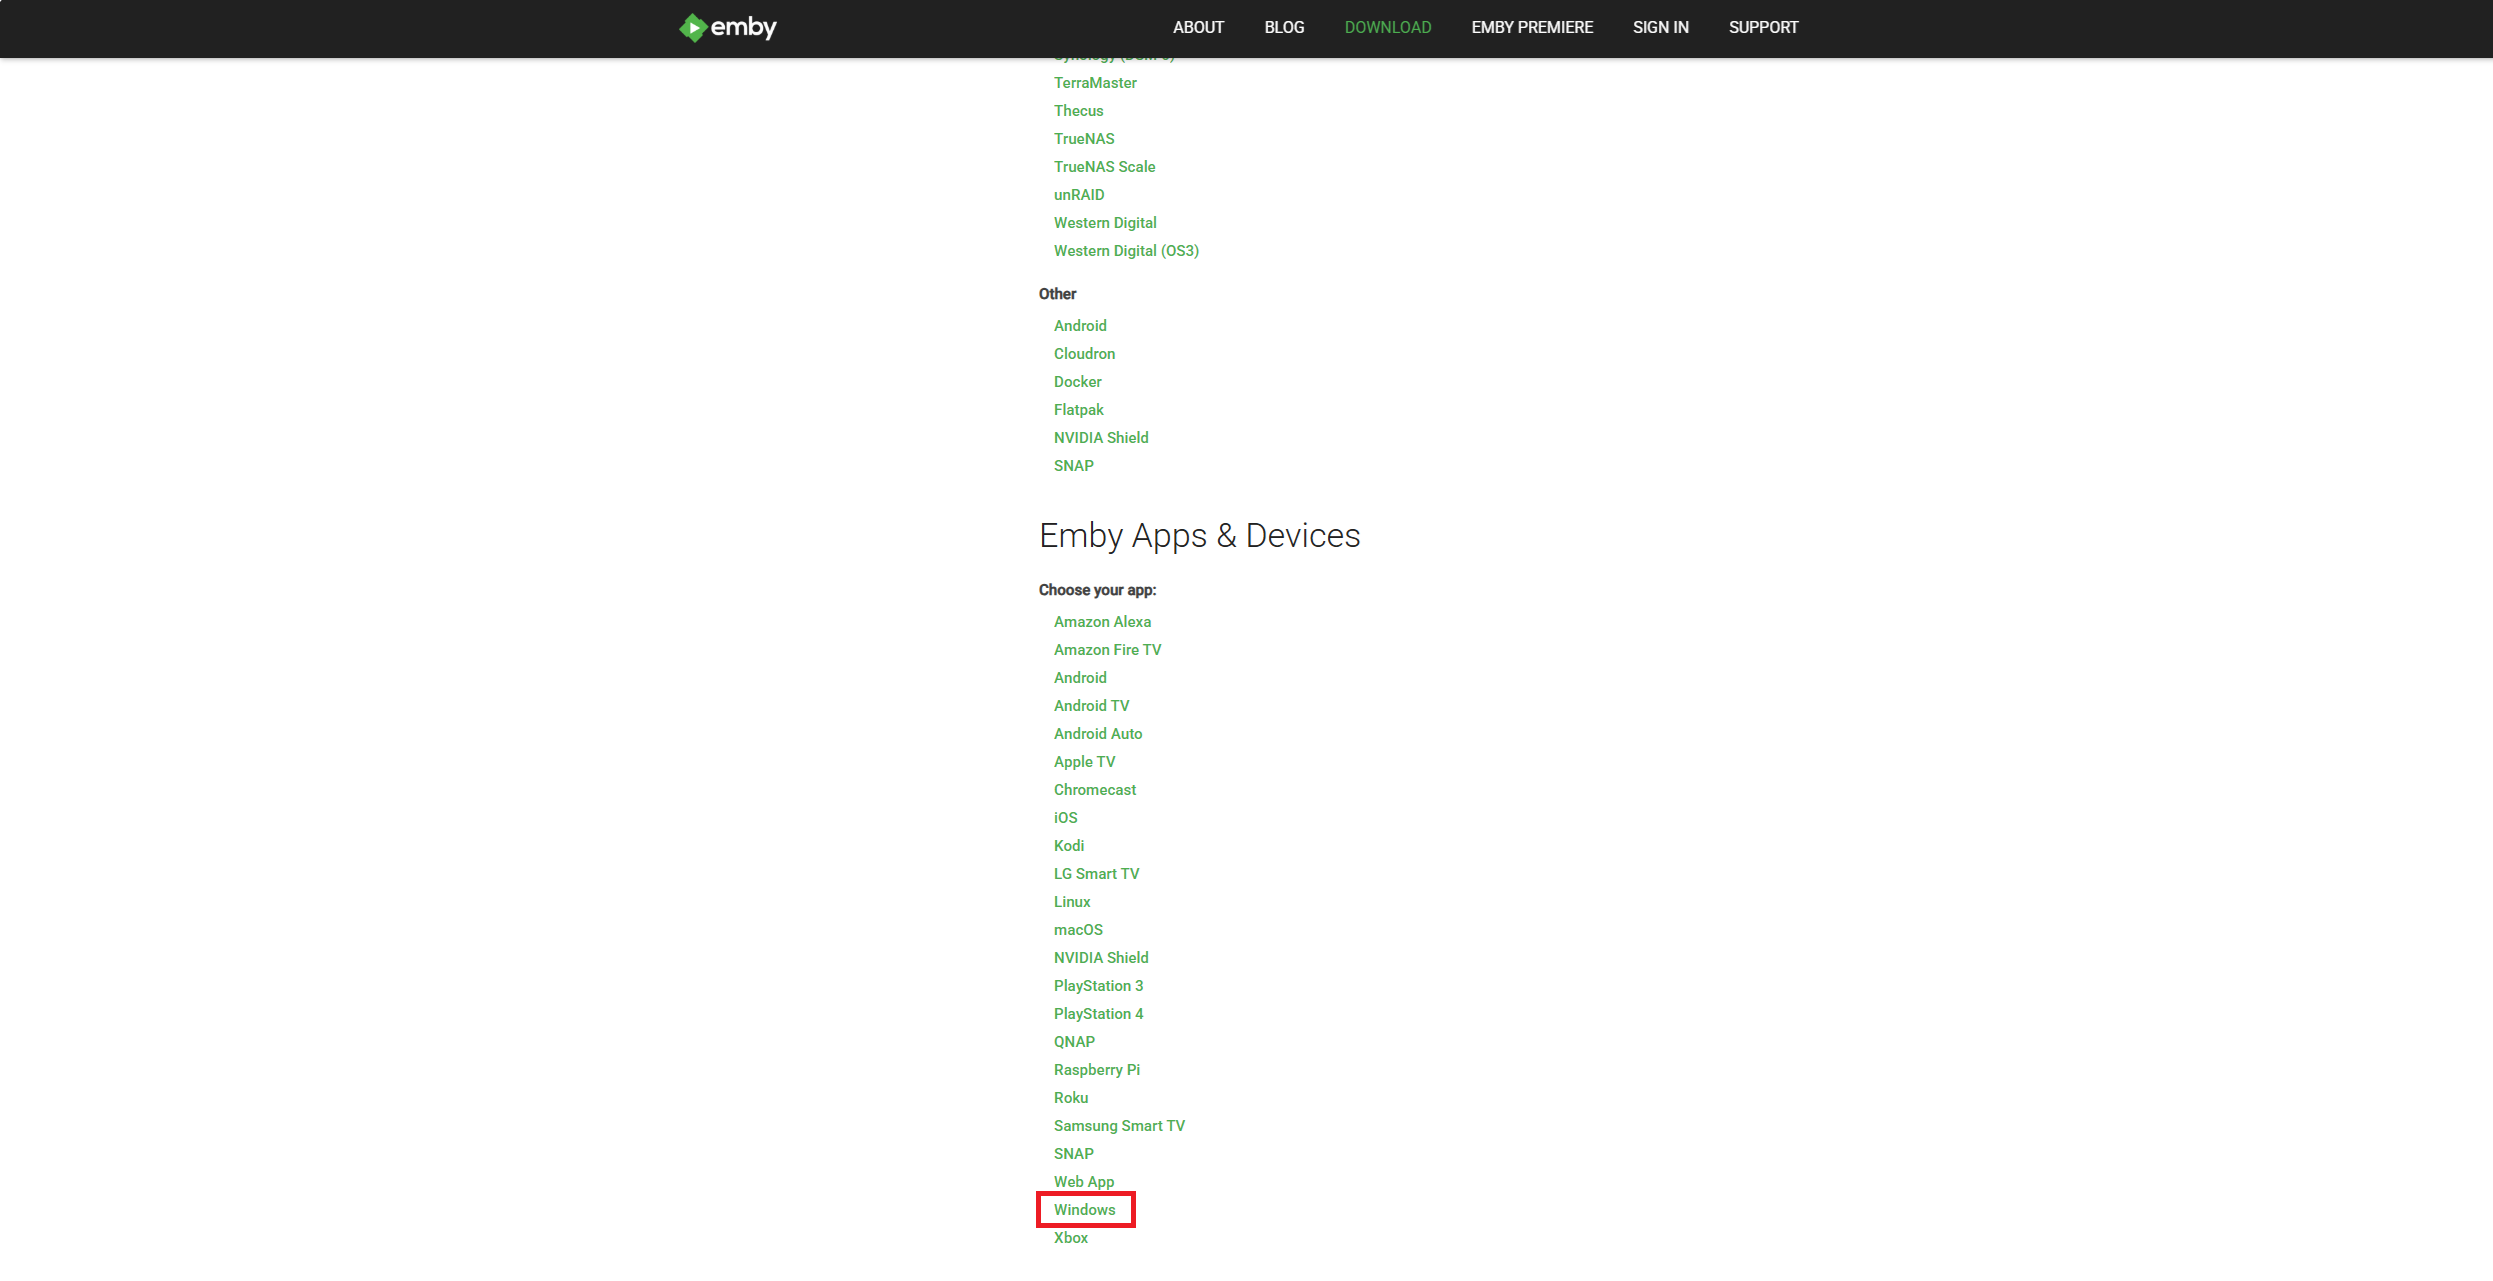
Step 2 - The app downloads
Scroll down a little bit as the top section is for the server downloads. We're looking for the app downloads.
Step 3
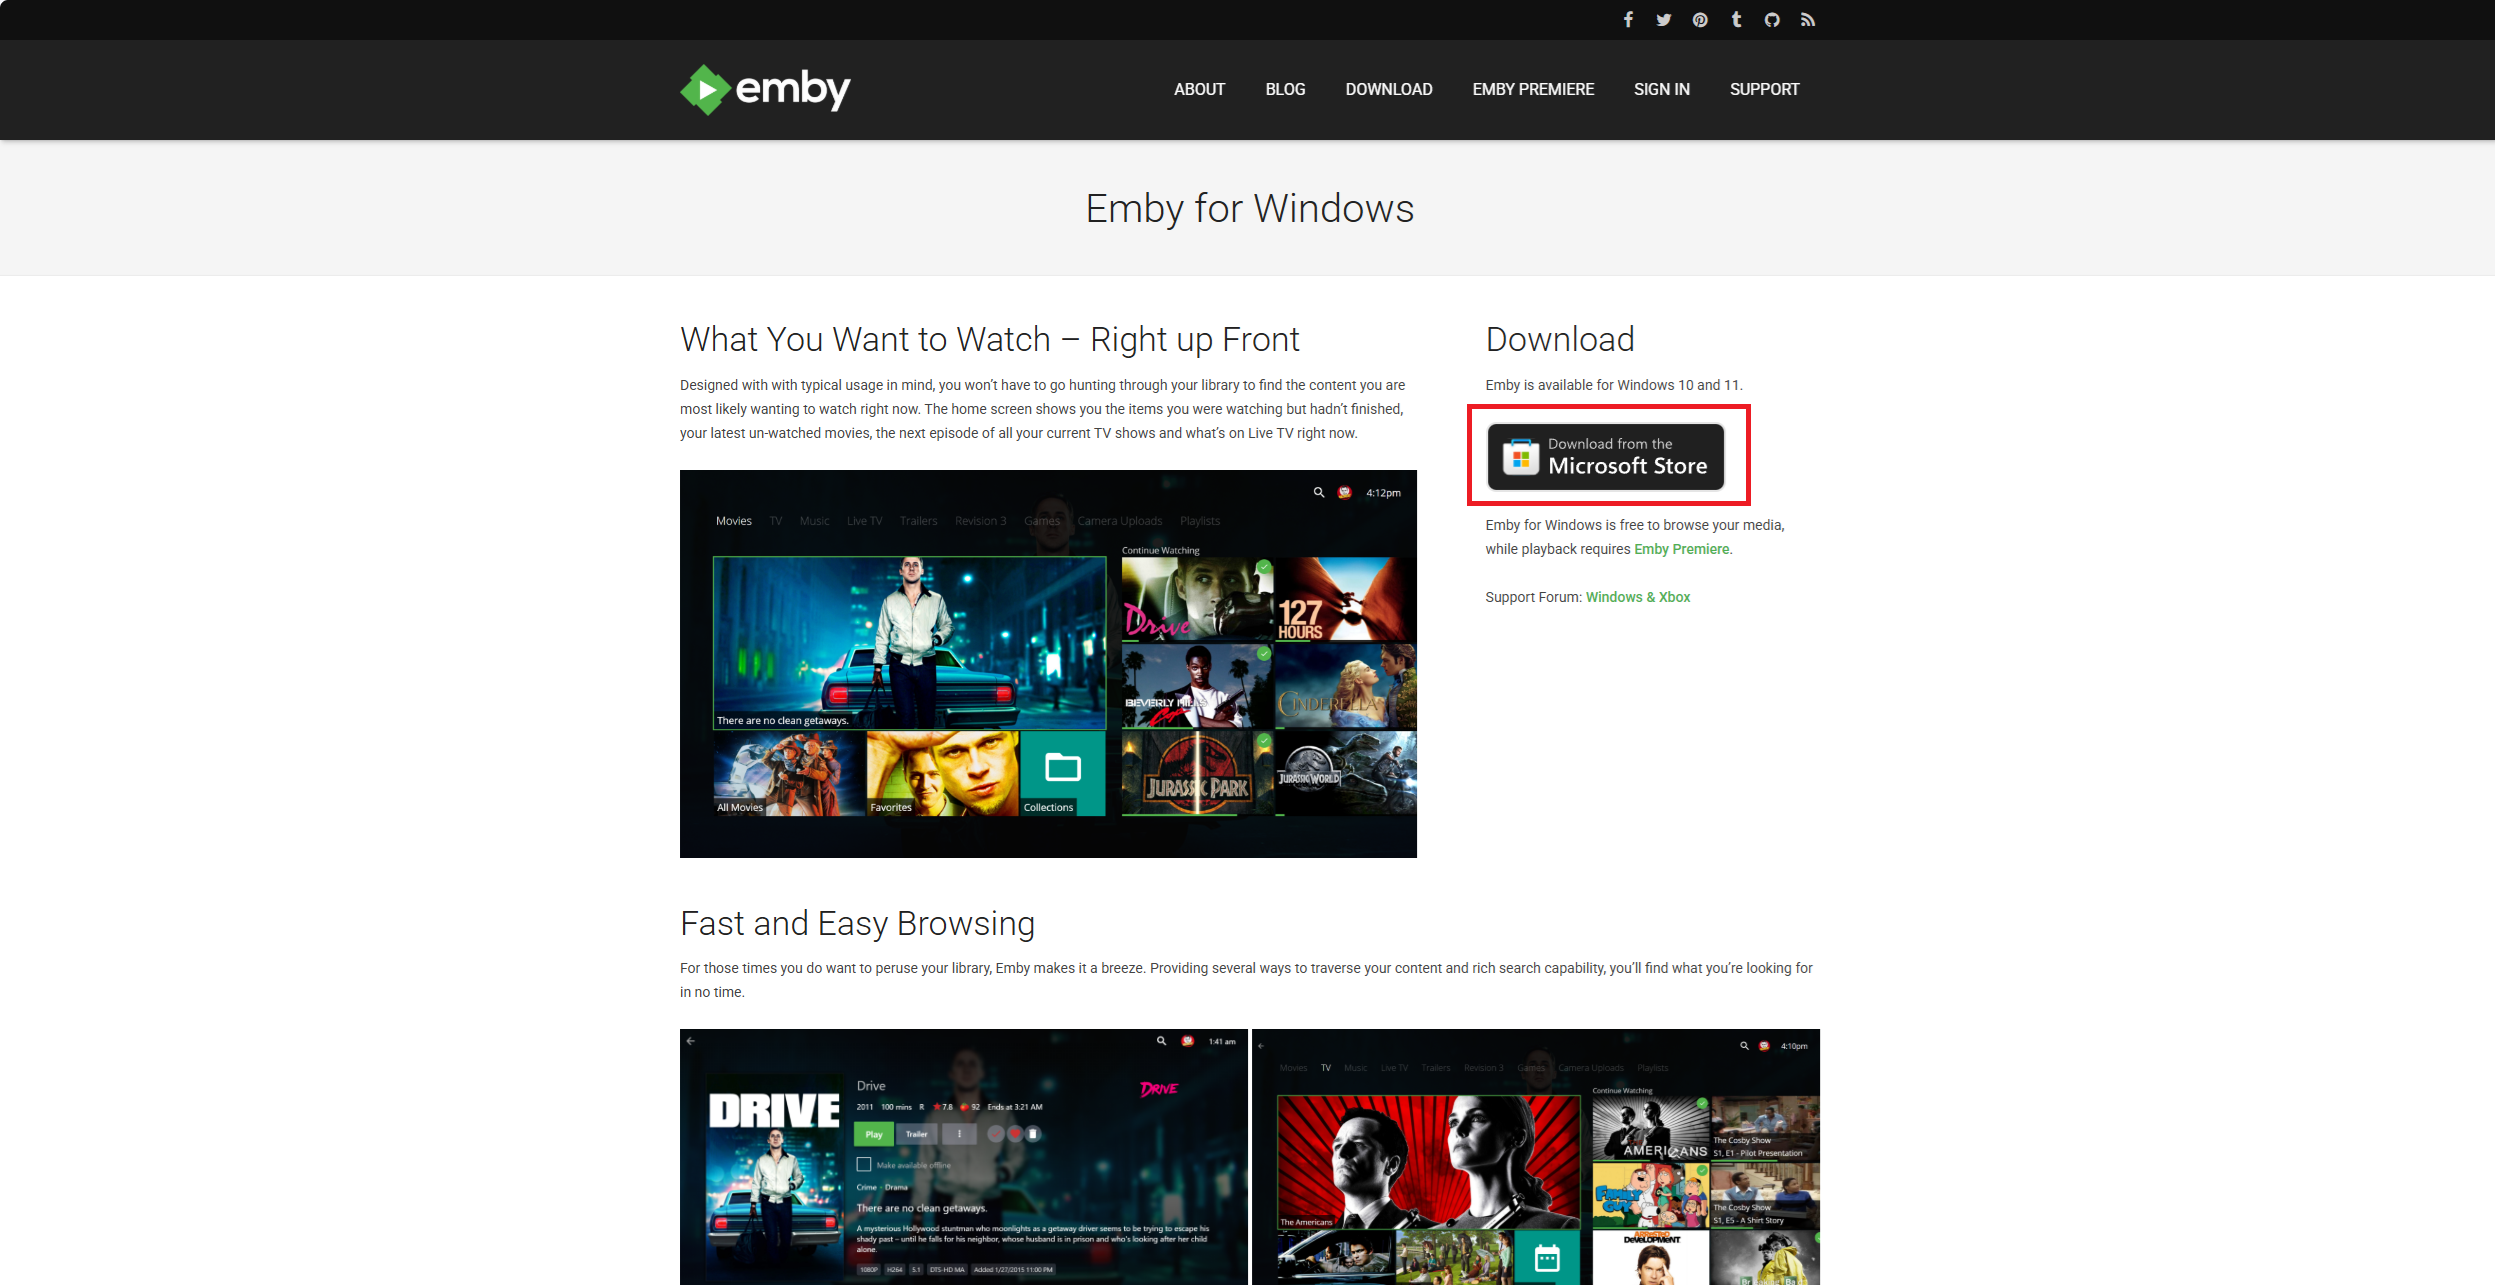
Step 3 - The download itself
Unfortunately the download link will link you to the Microsoft store - I know this is annoying
From within the Microsoft store, you'll want to install Emby to your Windows device - Hopefully this is straight forward.
Step 4
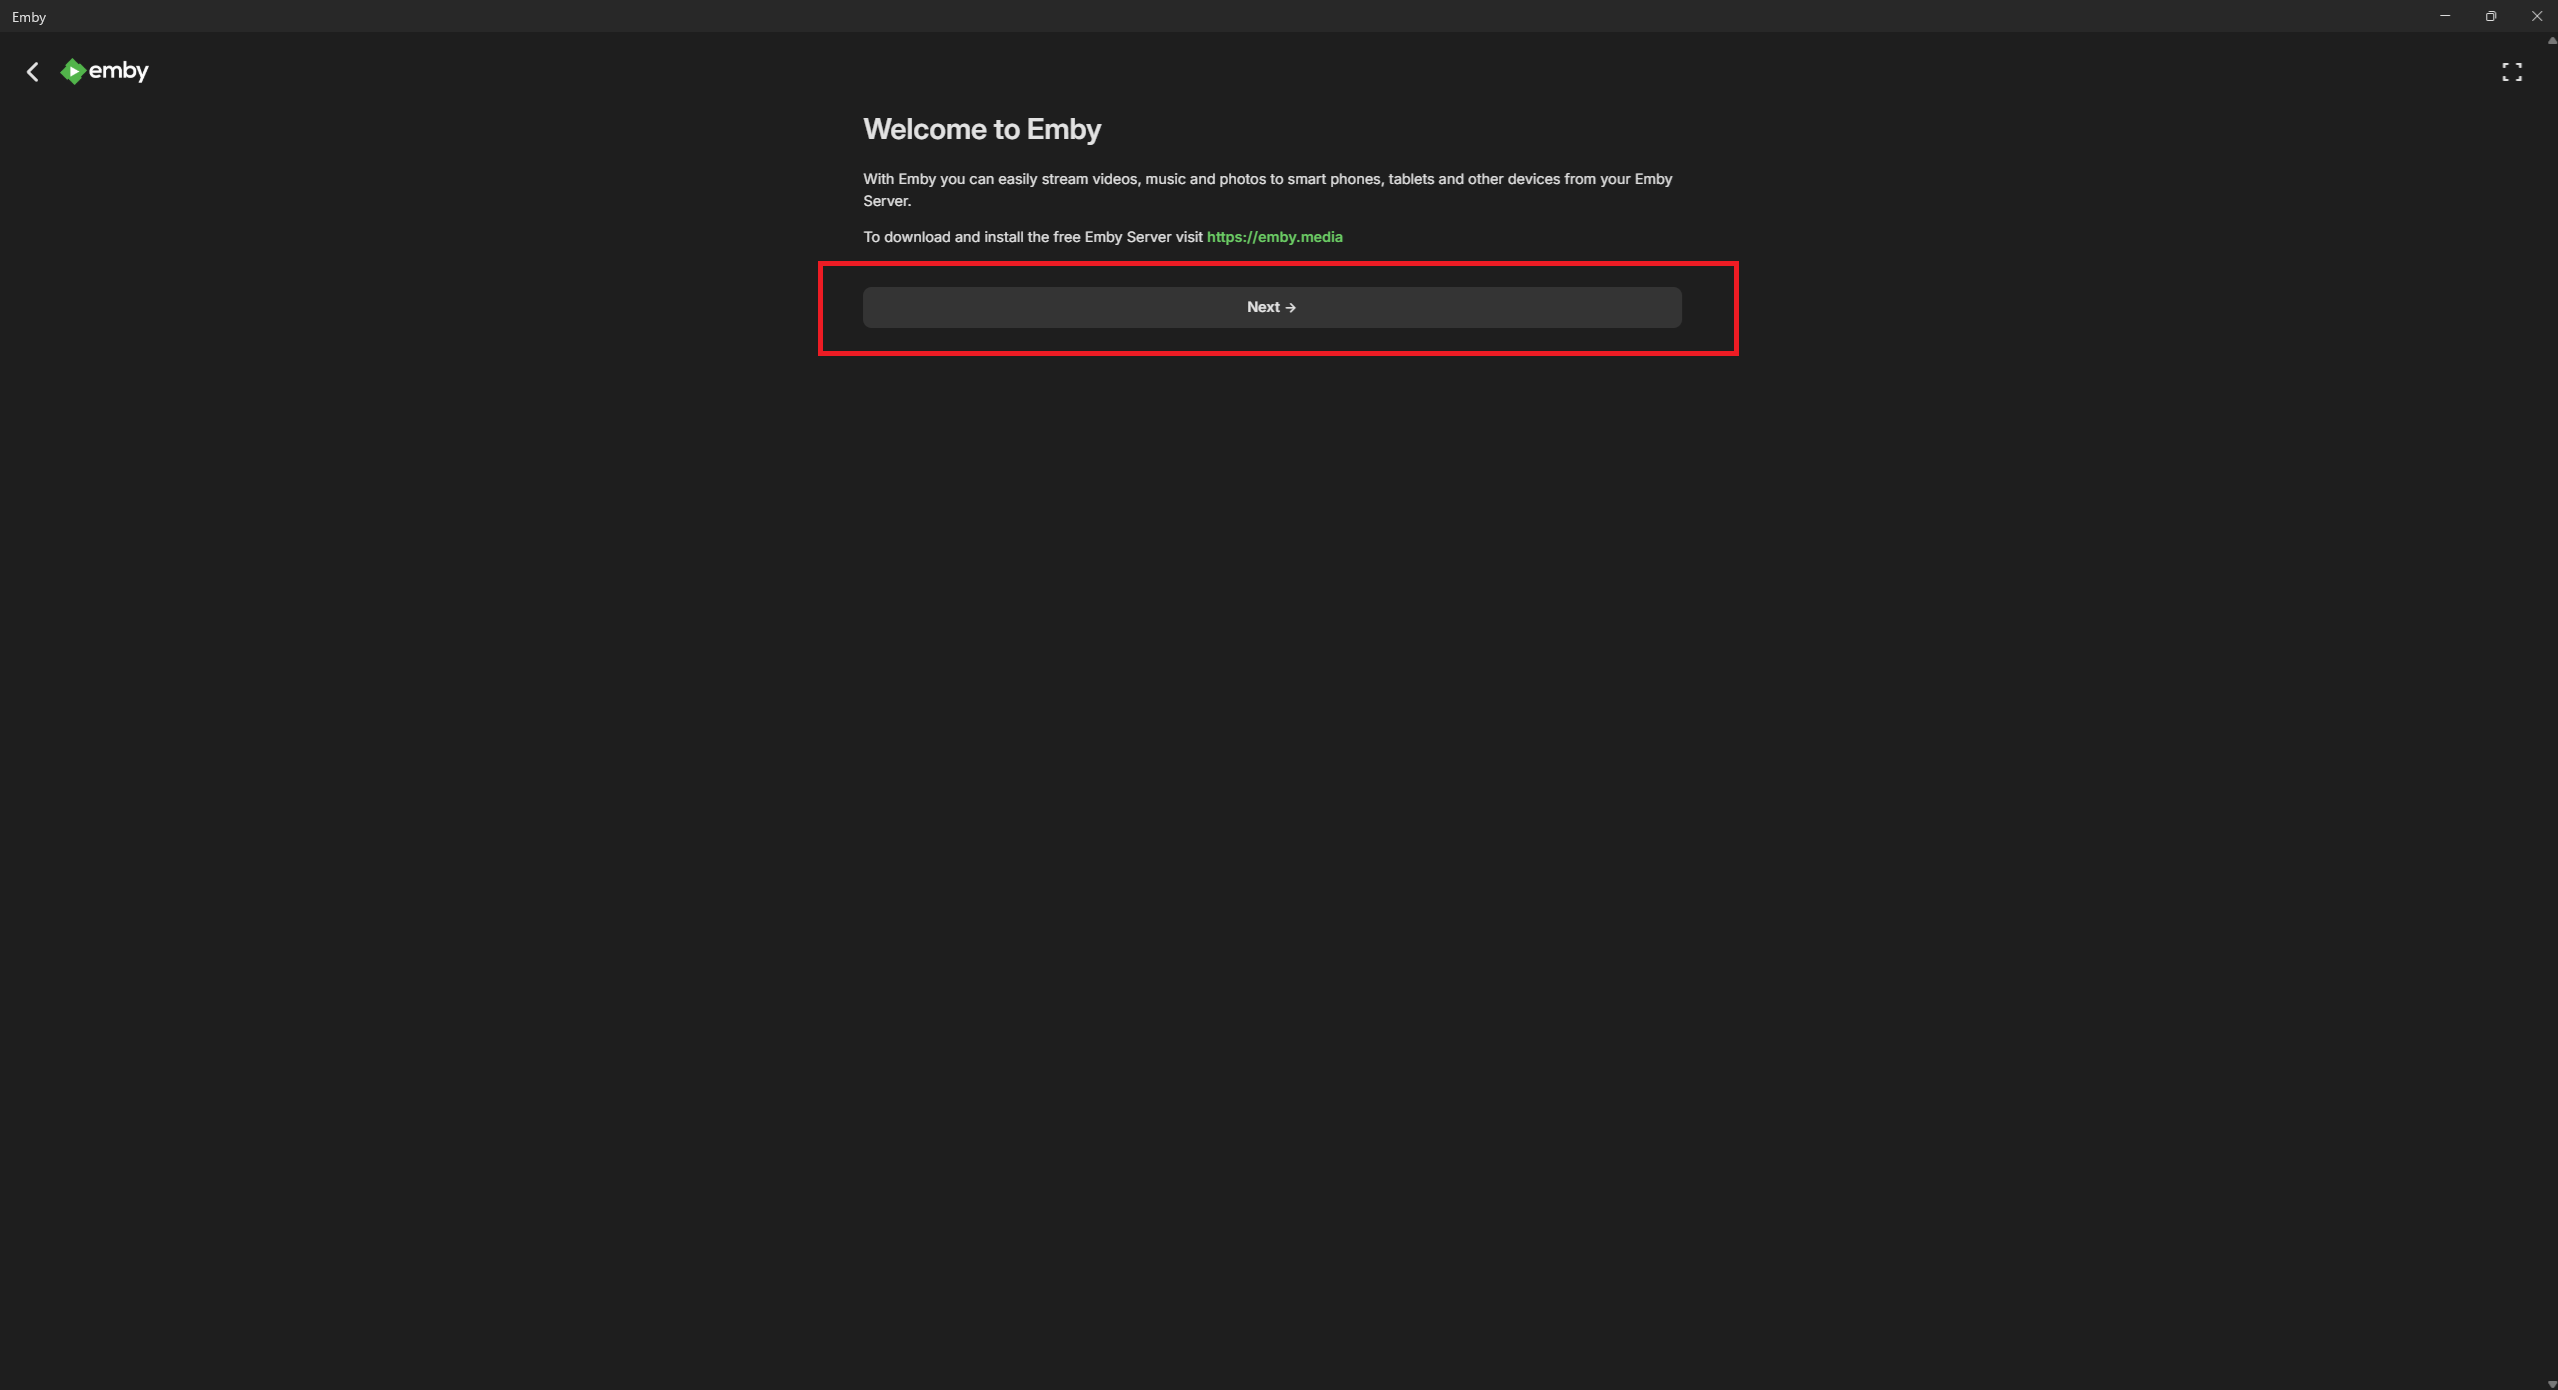
Step 4 - Post install setup
It will land you on this page, you'll just want to continue on with the "Next" button
Step 5
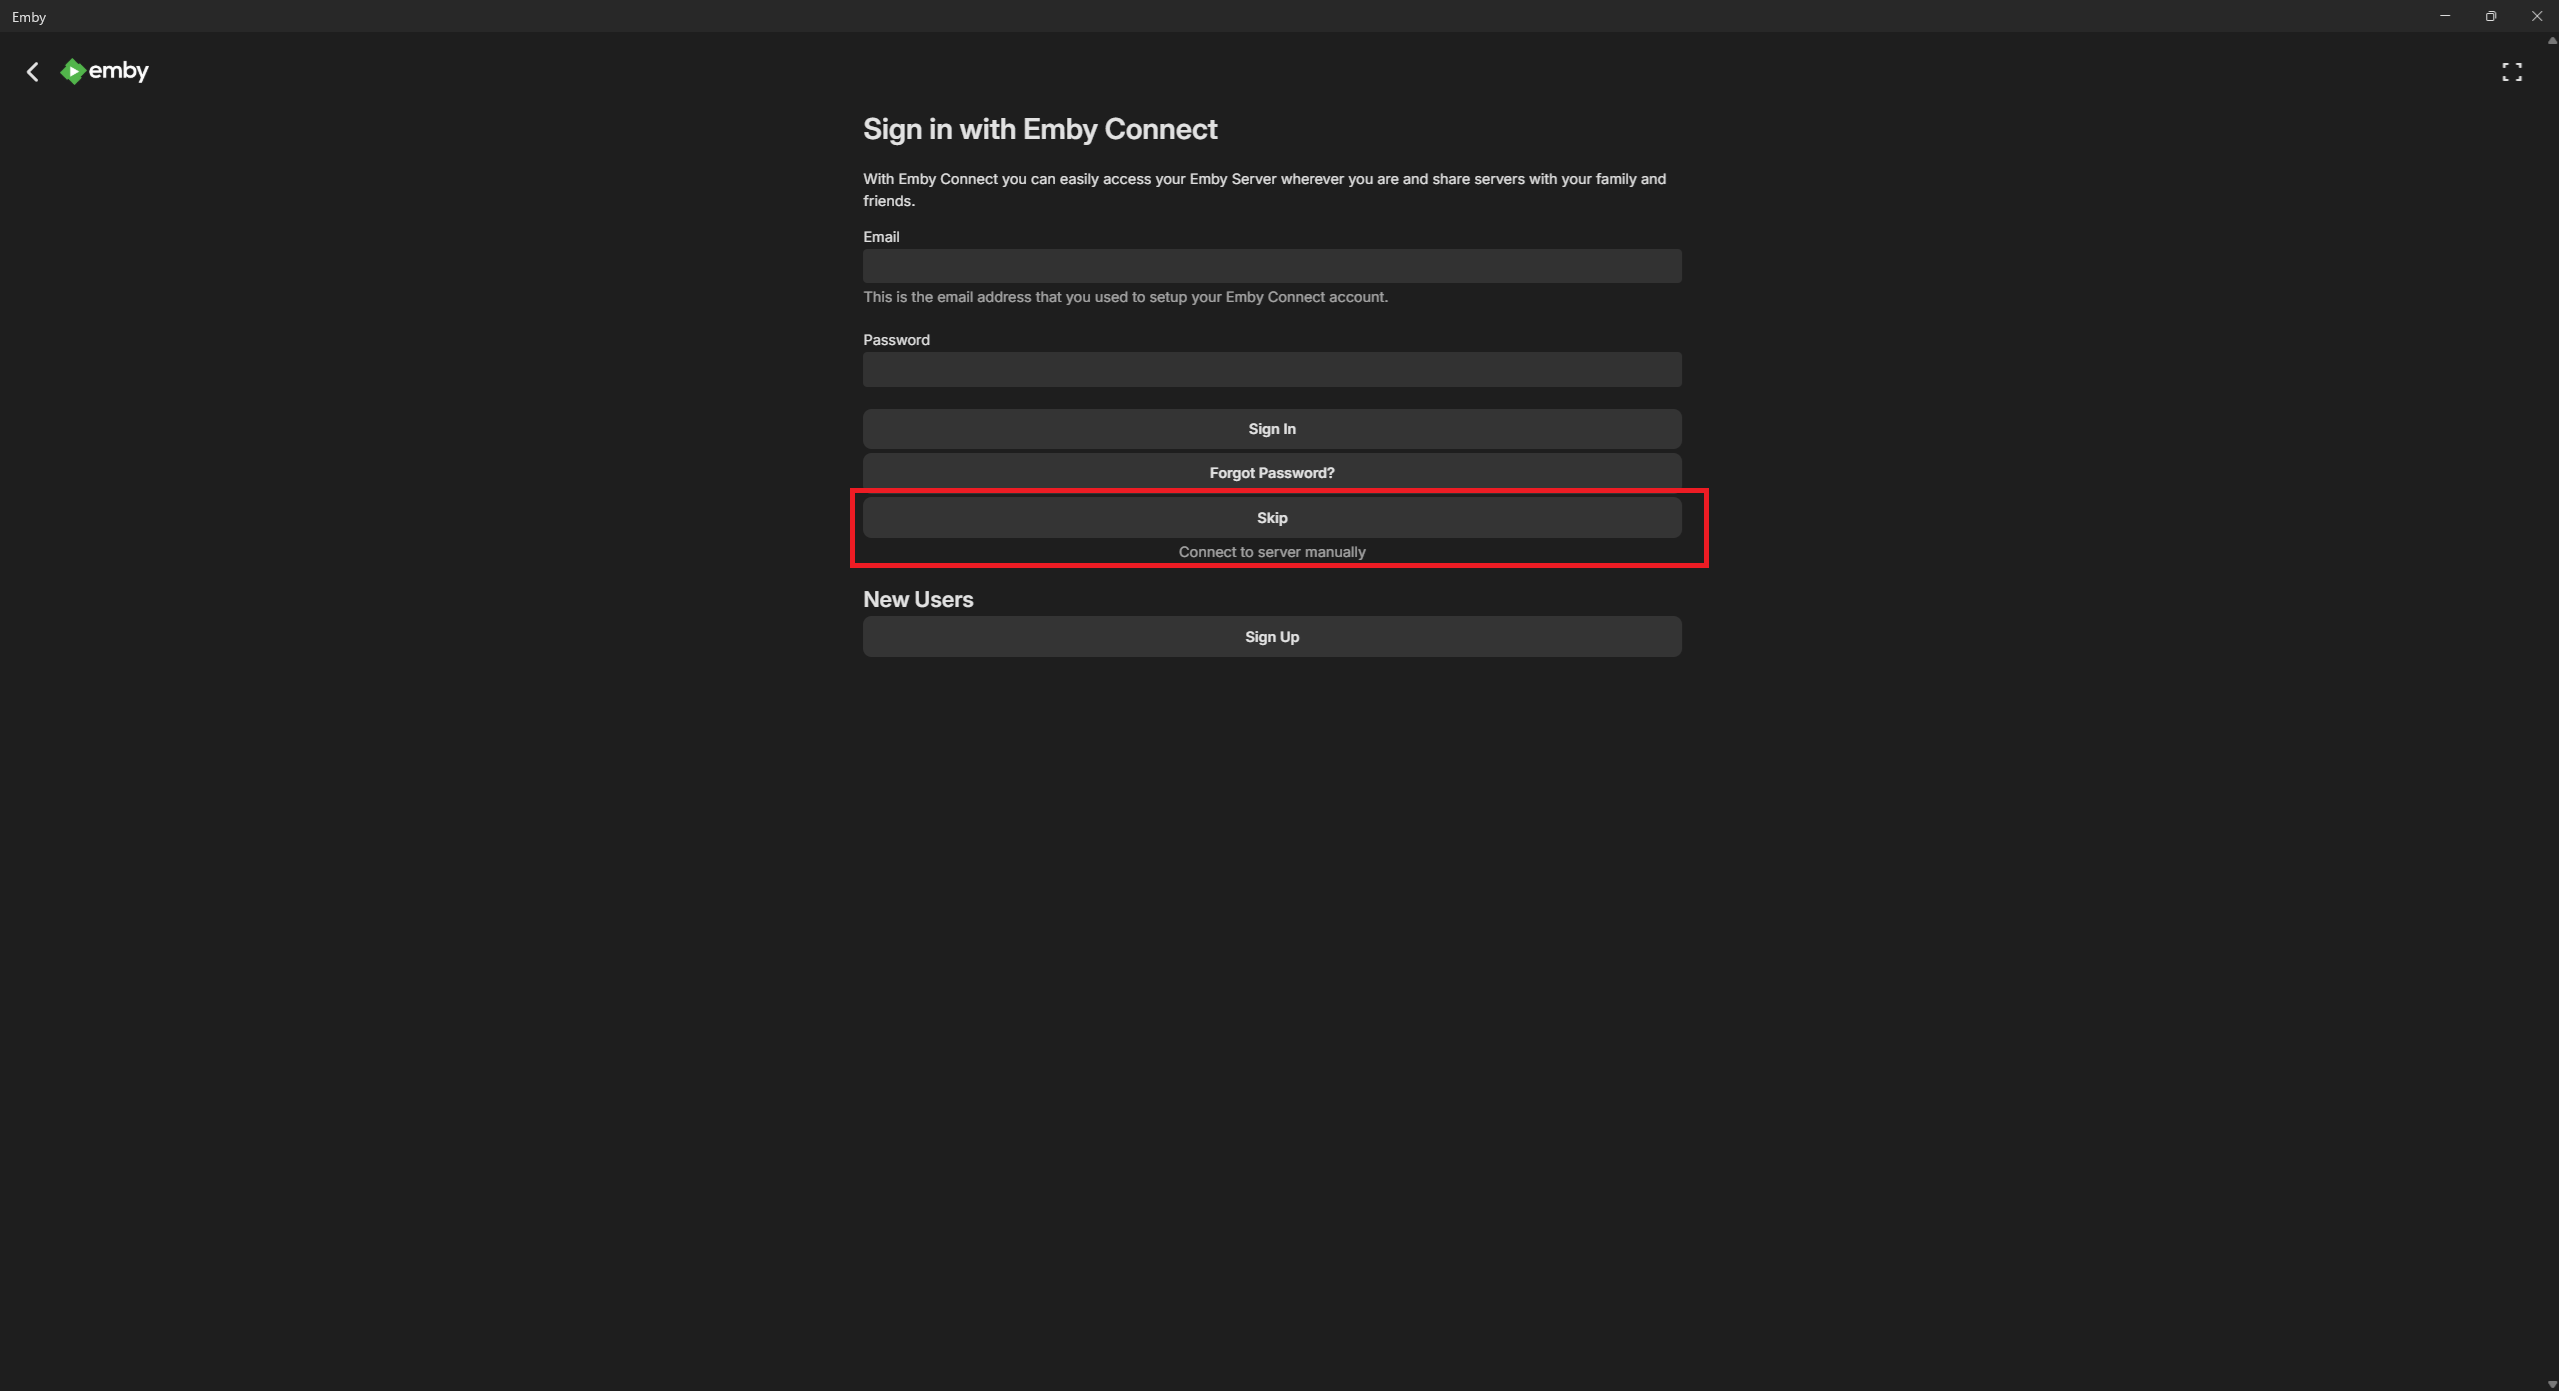
Step 5 - The annoying bit about Emby
You'll now want to click the "Skip button" - You don't want to sign in with Emby Connect.
I don't intend to push users to create accounts with Emby. I manage the accounts here, like with Jellyfin.
Step 6
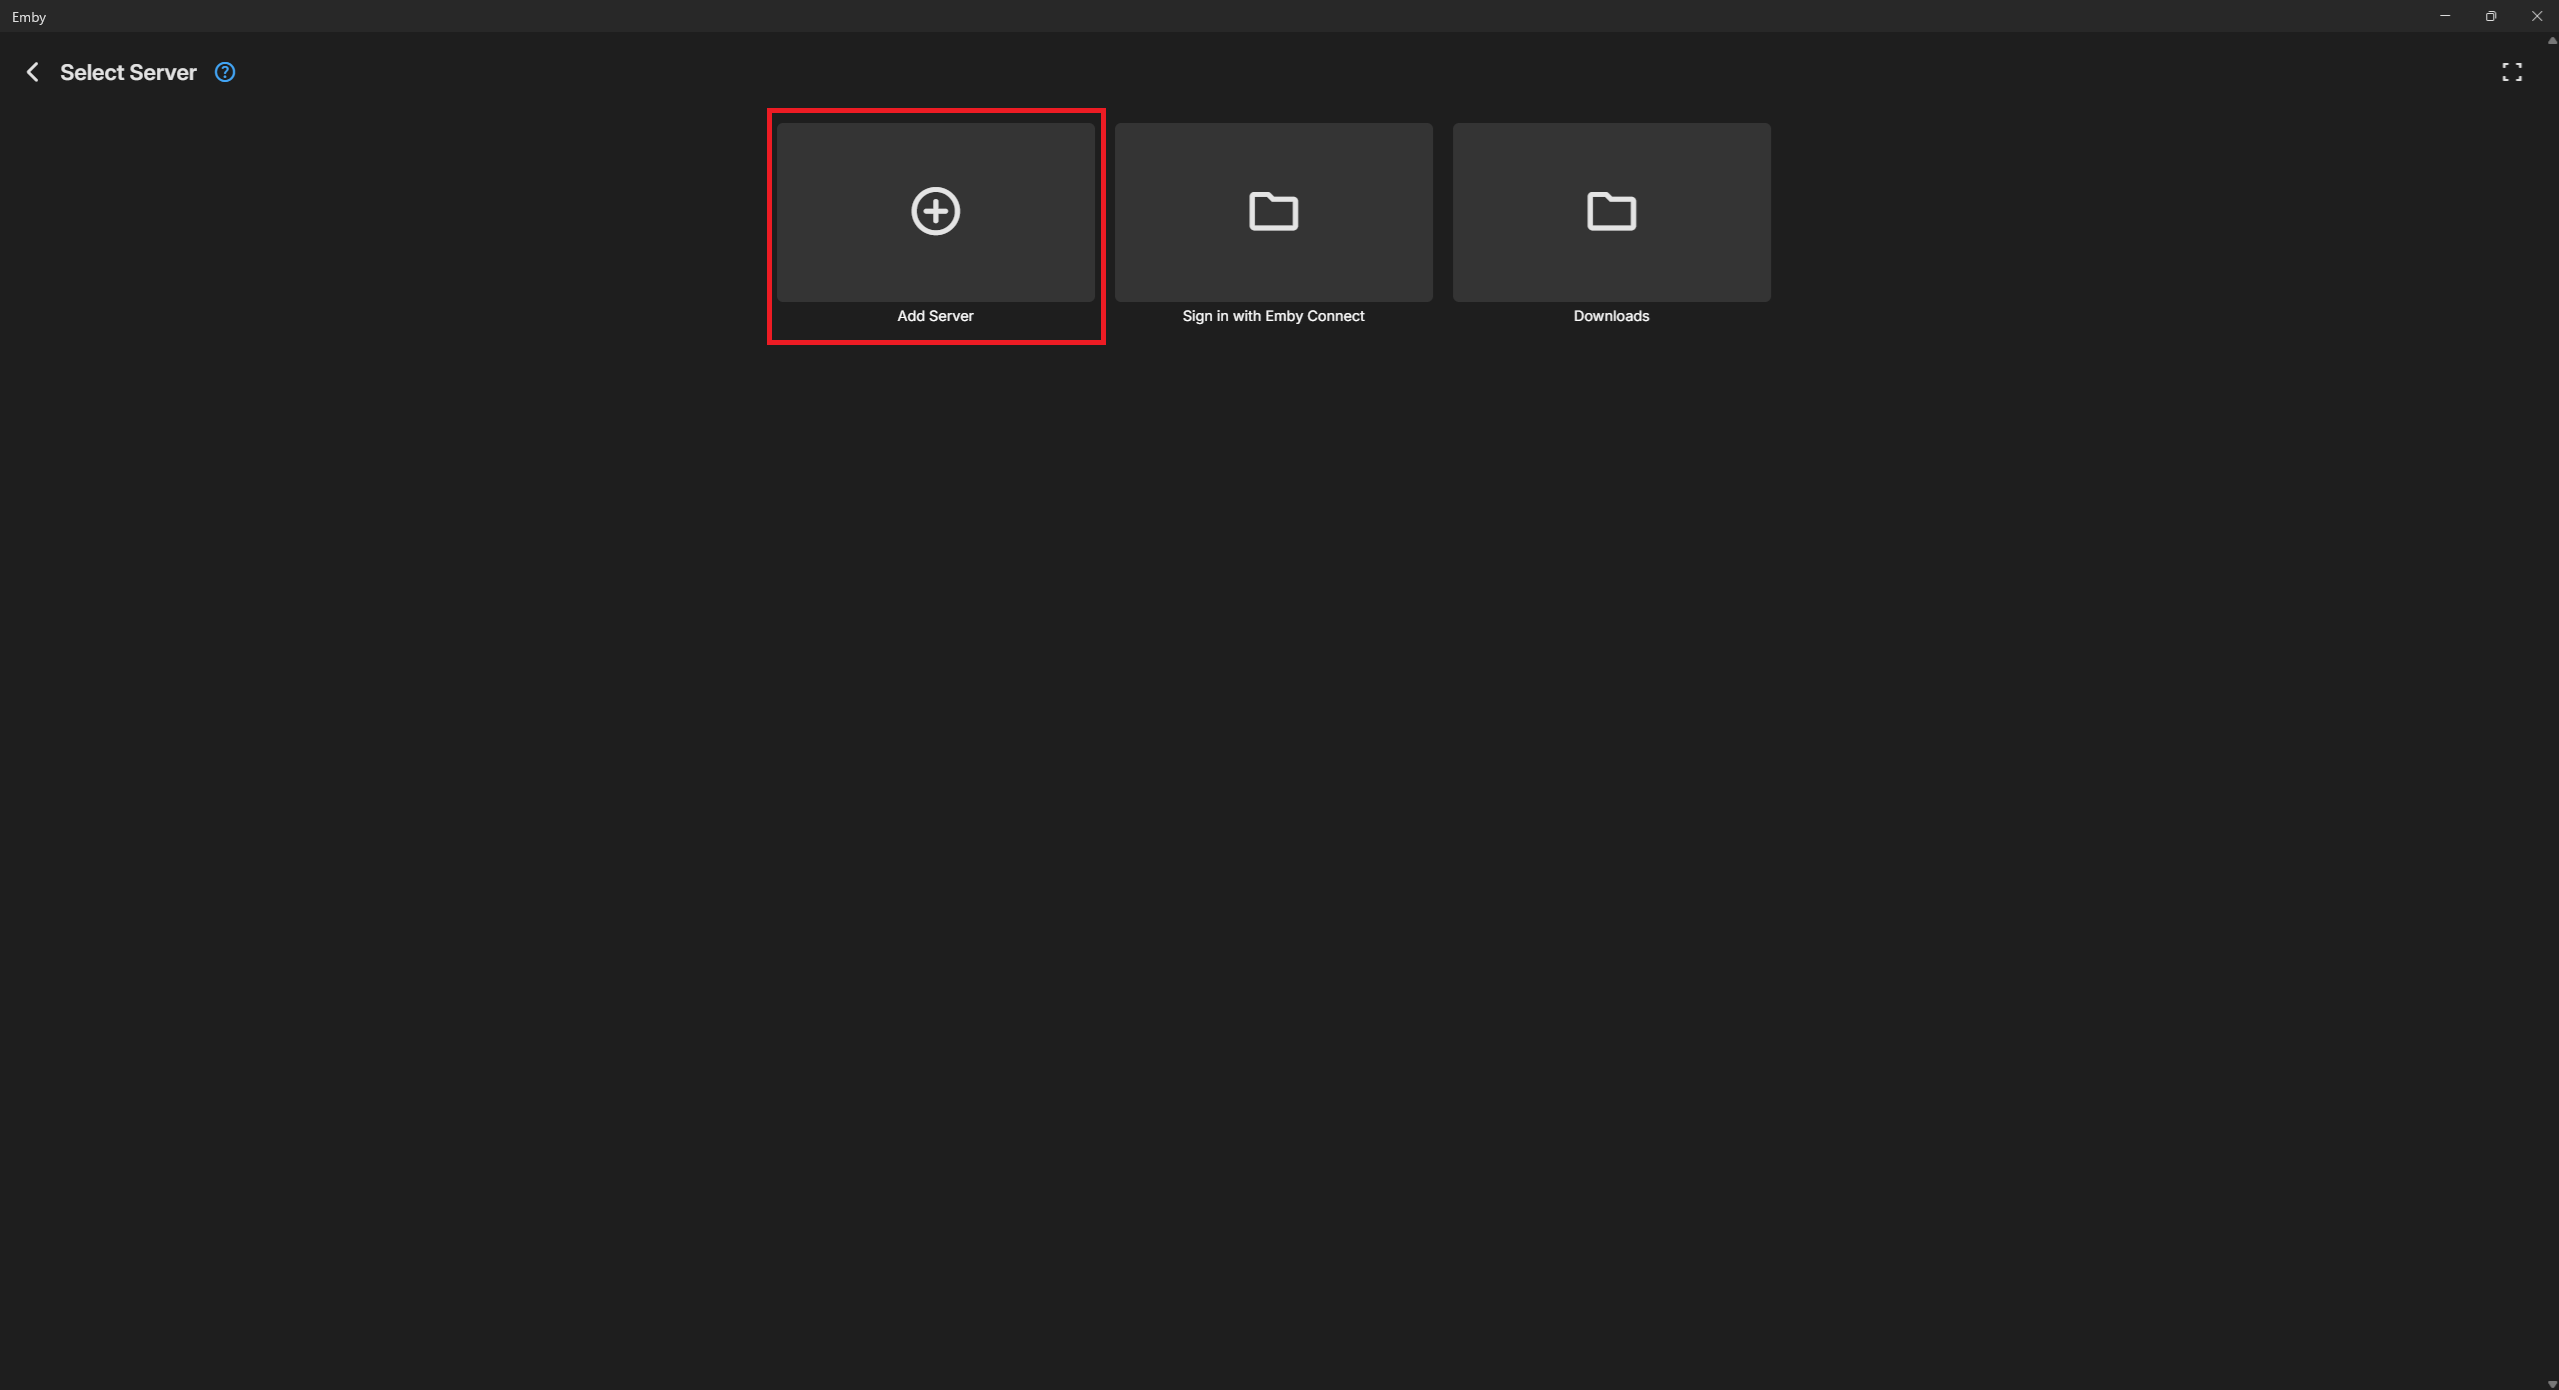
Step 6 - The coin flip
From step 5 to here, it's a bit of a coinflip whether you'll end up at the server connect page or on this one. If you end up here, just click "Add Server"
If you don't end up here, skip to step 7
Step 7
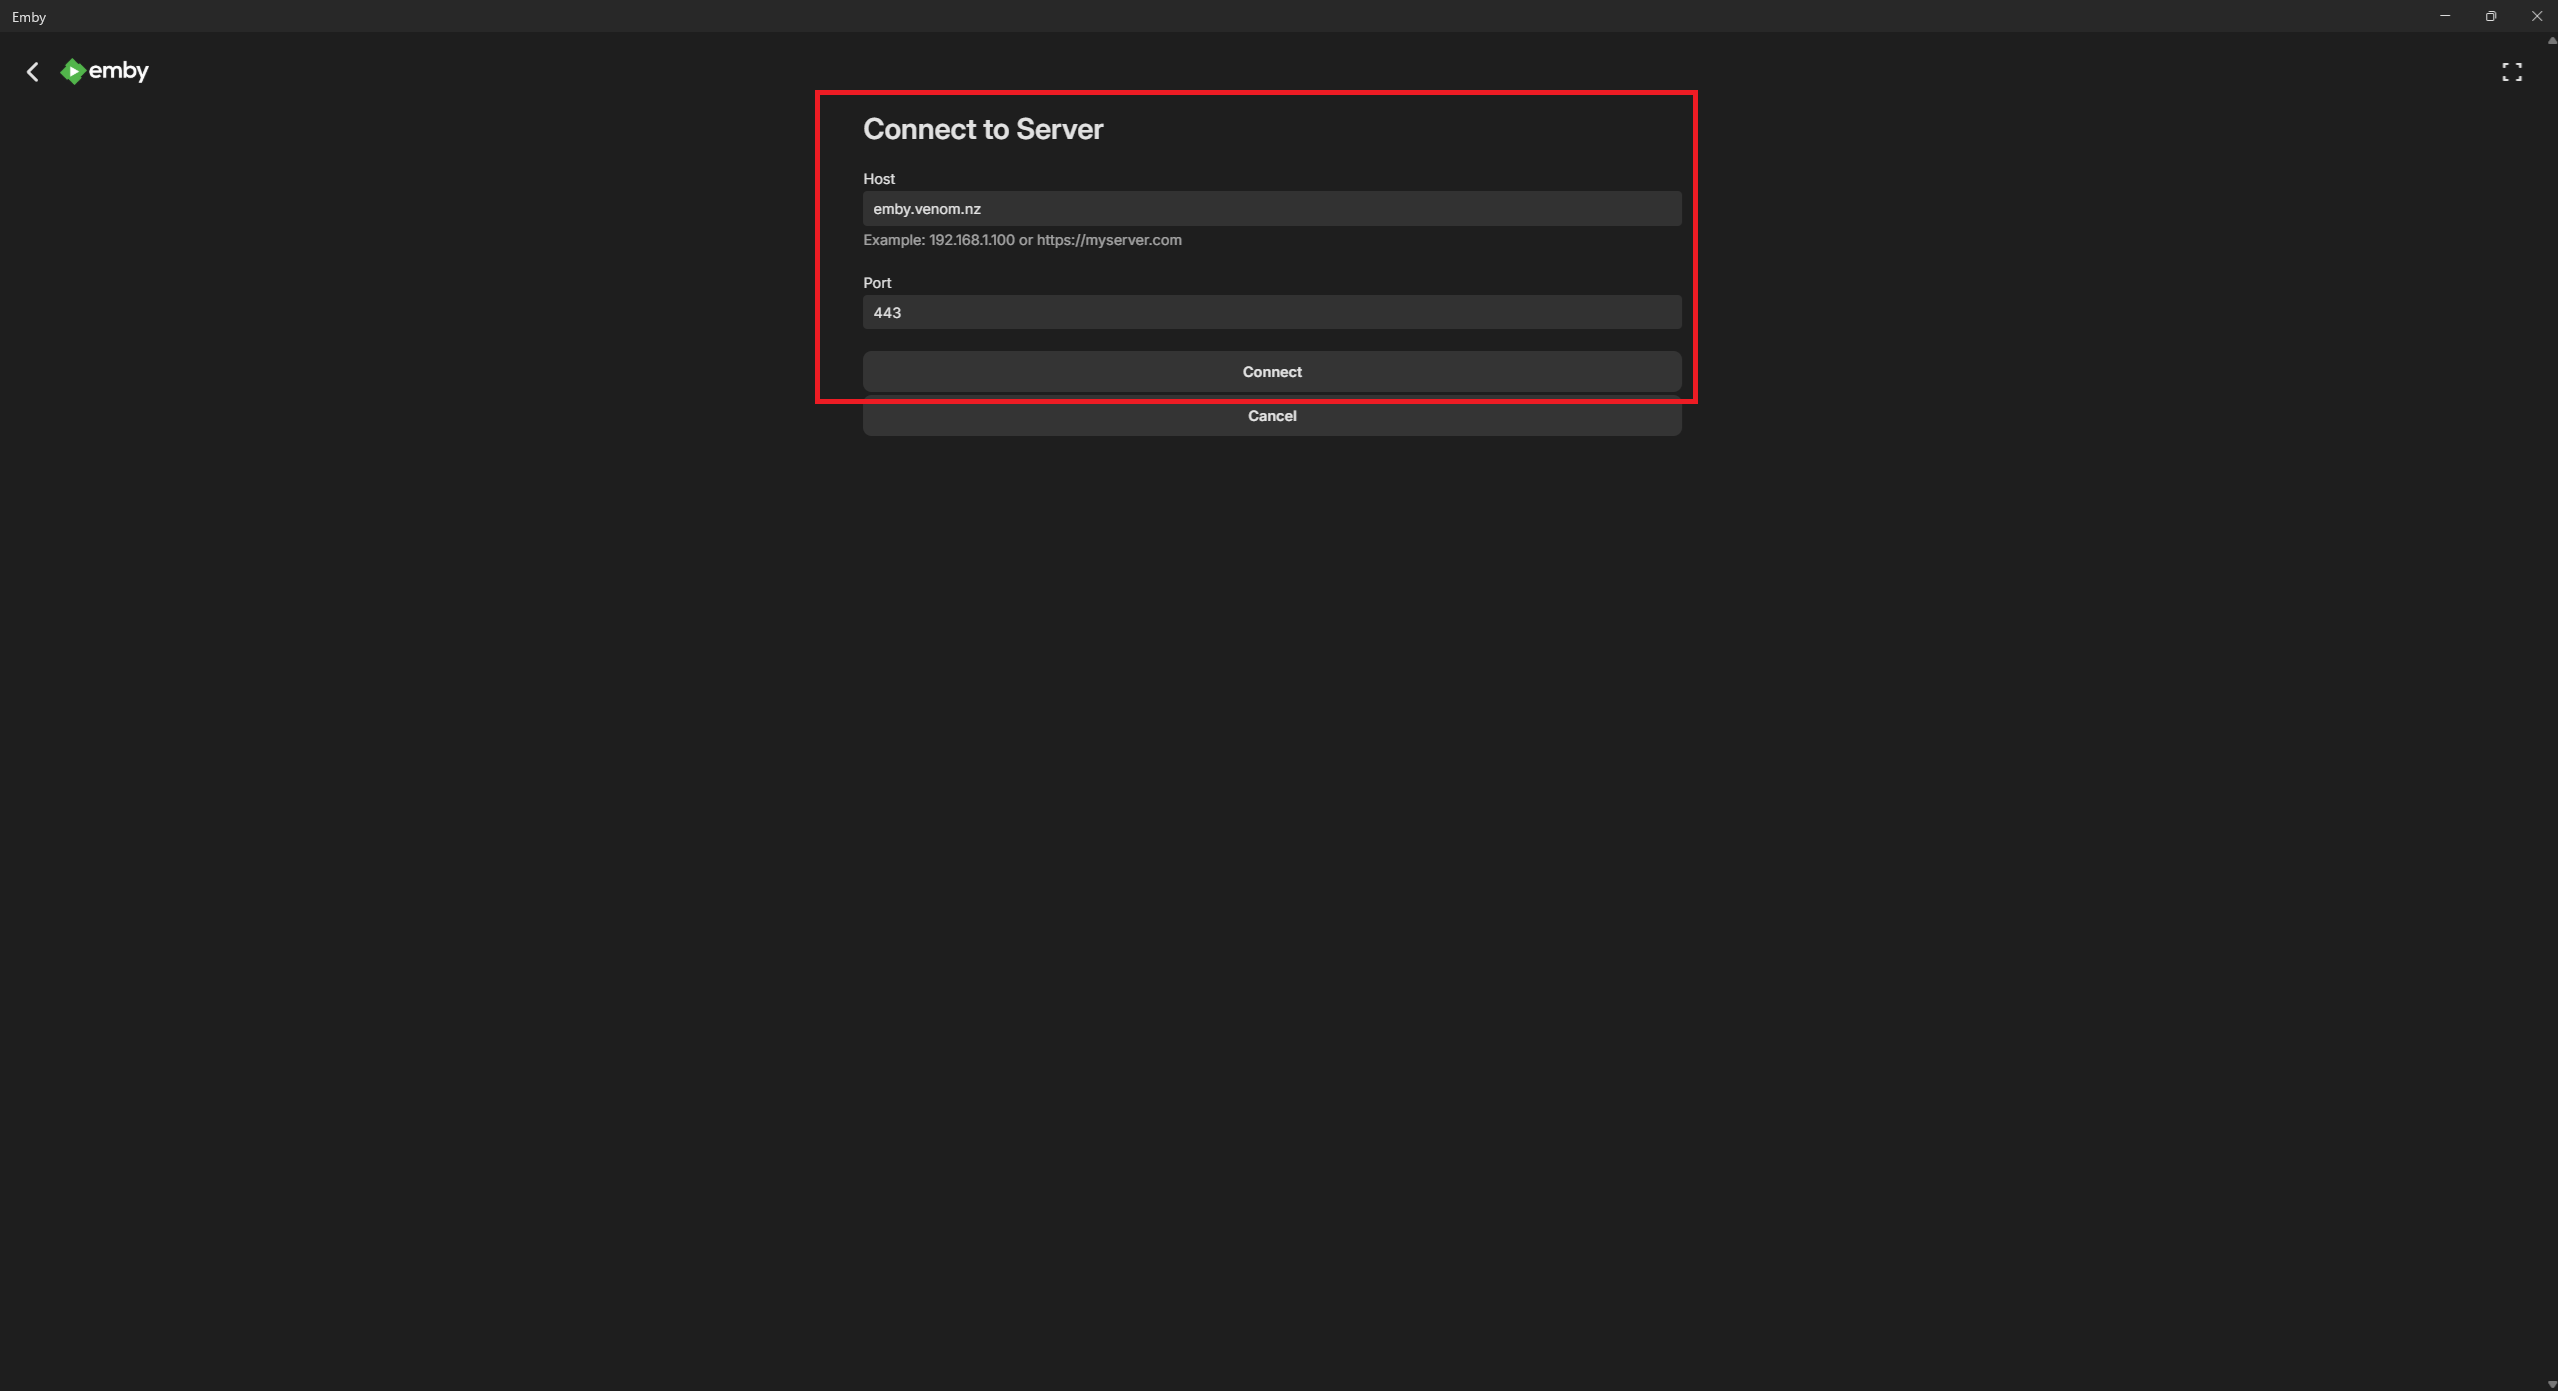
Step 7 - Server connect
Now on this page, you'll just enter the server address: emby.venom.nz
You'll want to change the port FROM the default "8096" to "443"
Step 8
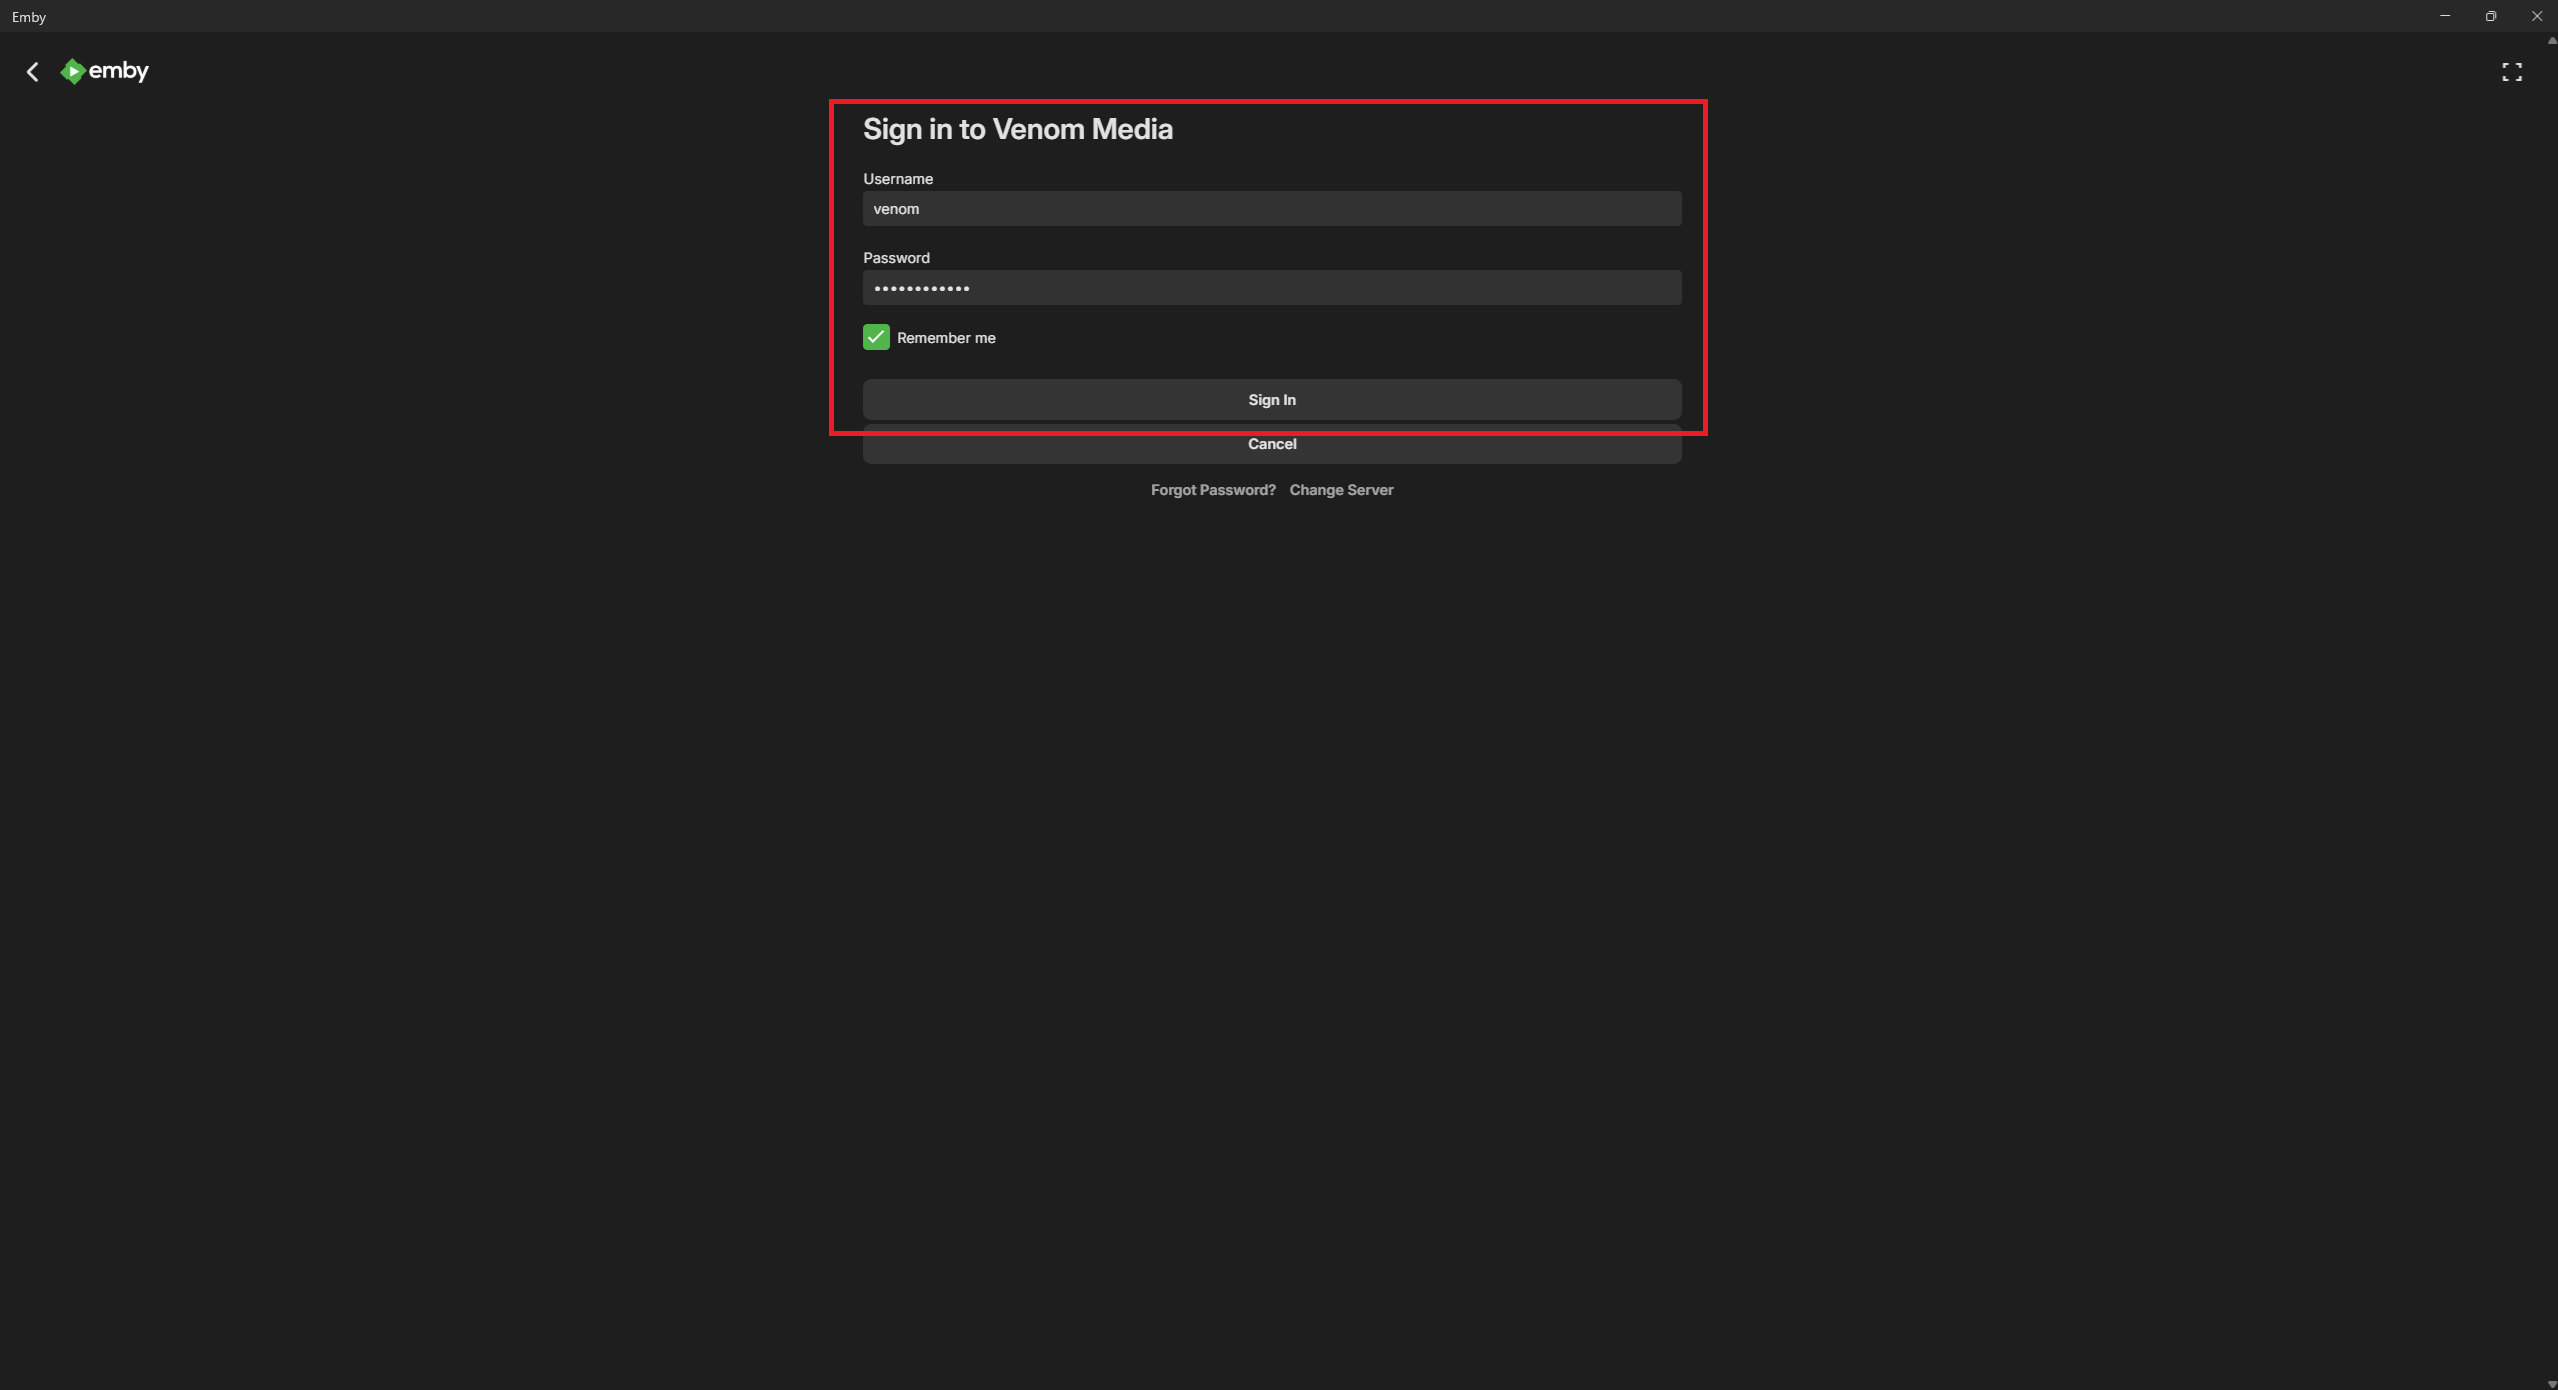
Step 8 - The login
Now on this page, you'll just log in to your provided account, and enjoy the media!